
1. Create a new project
Terminal
ai-chatbot and install the necessary dependencies.
2. Configure your environment variables
Follow the guide on Environment Variables to fill in your environment variables. Specifically, make sure you set anOPENAI_API_KEY environment variable.
3. Create the chatbot UI
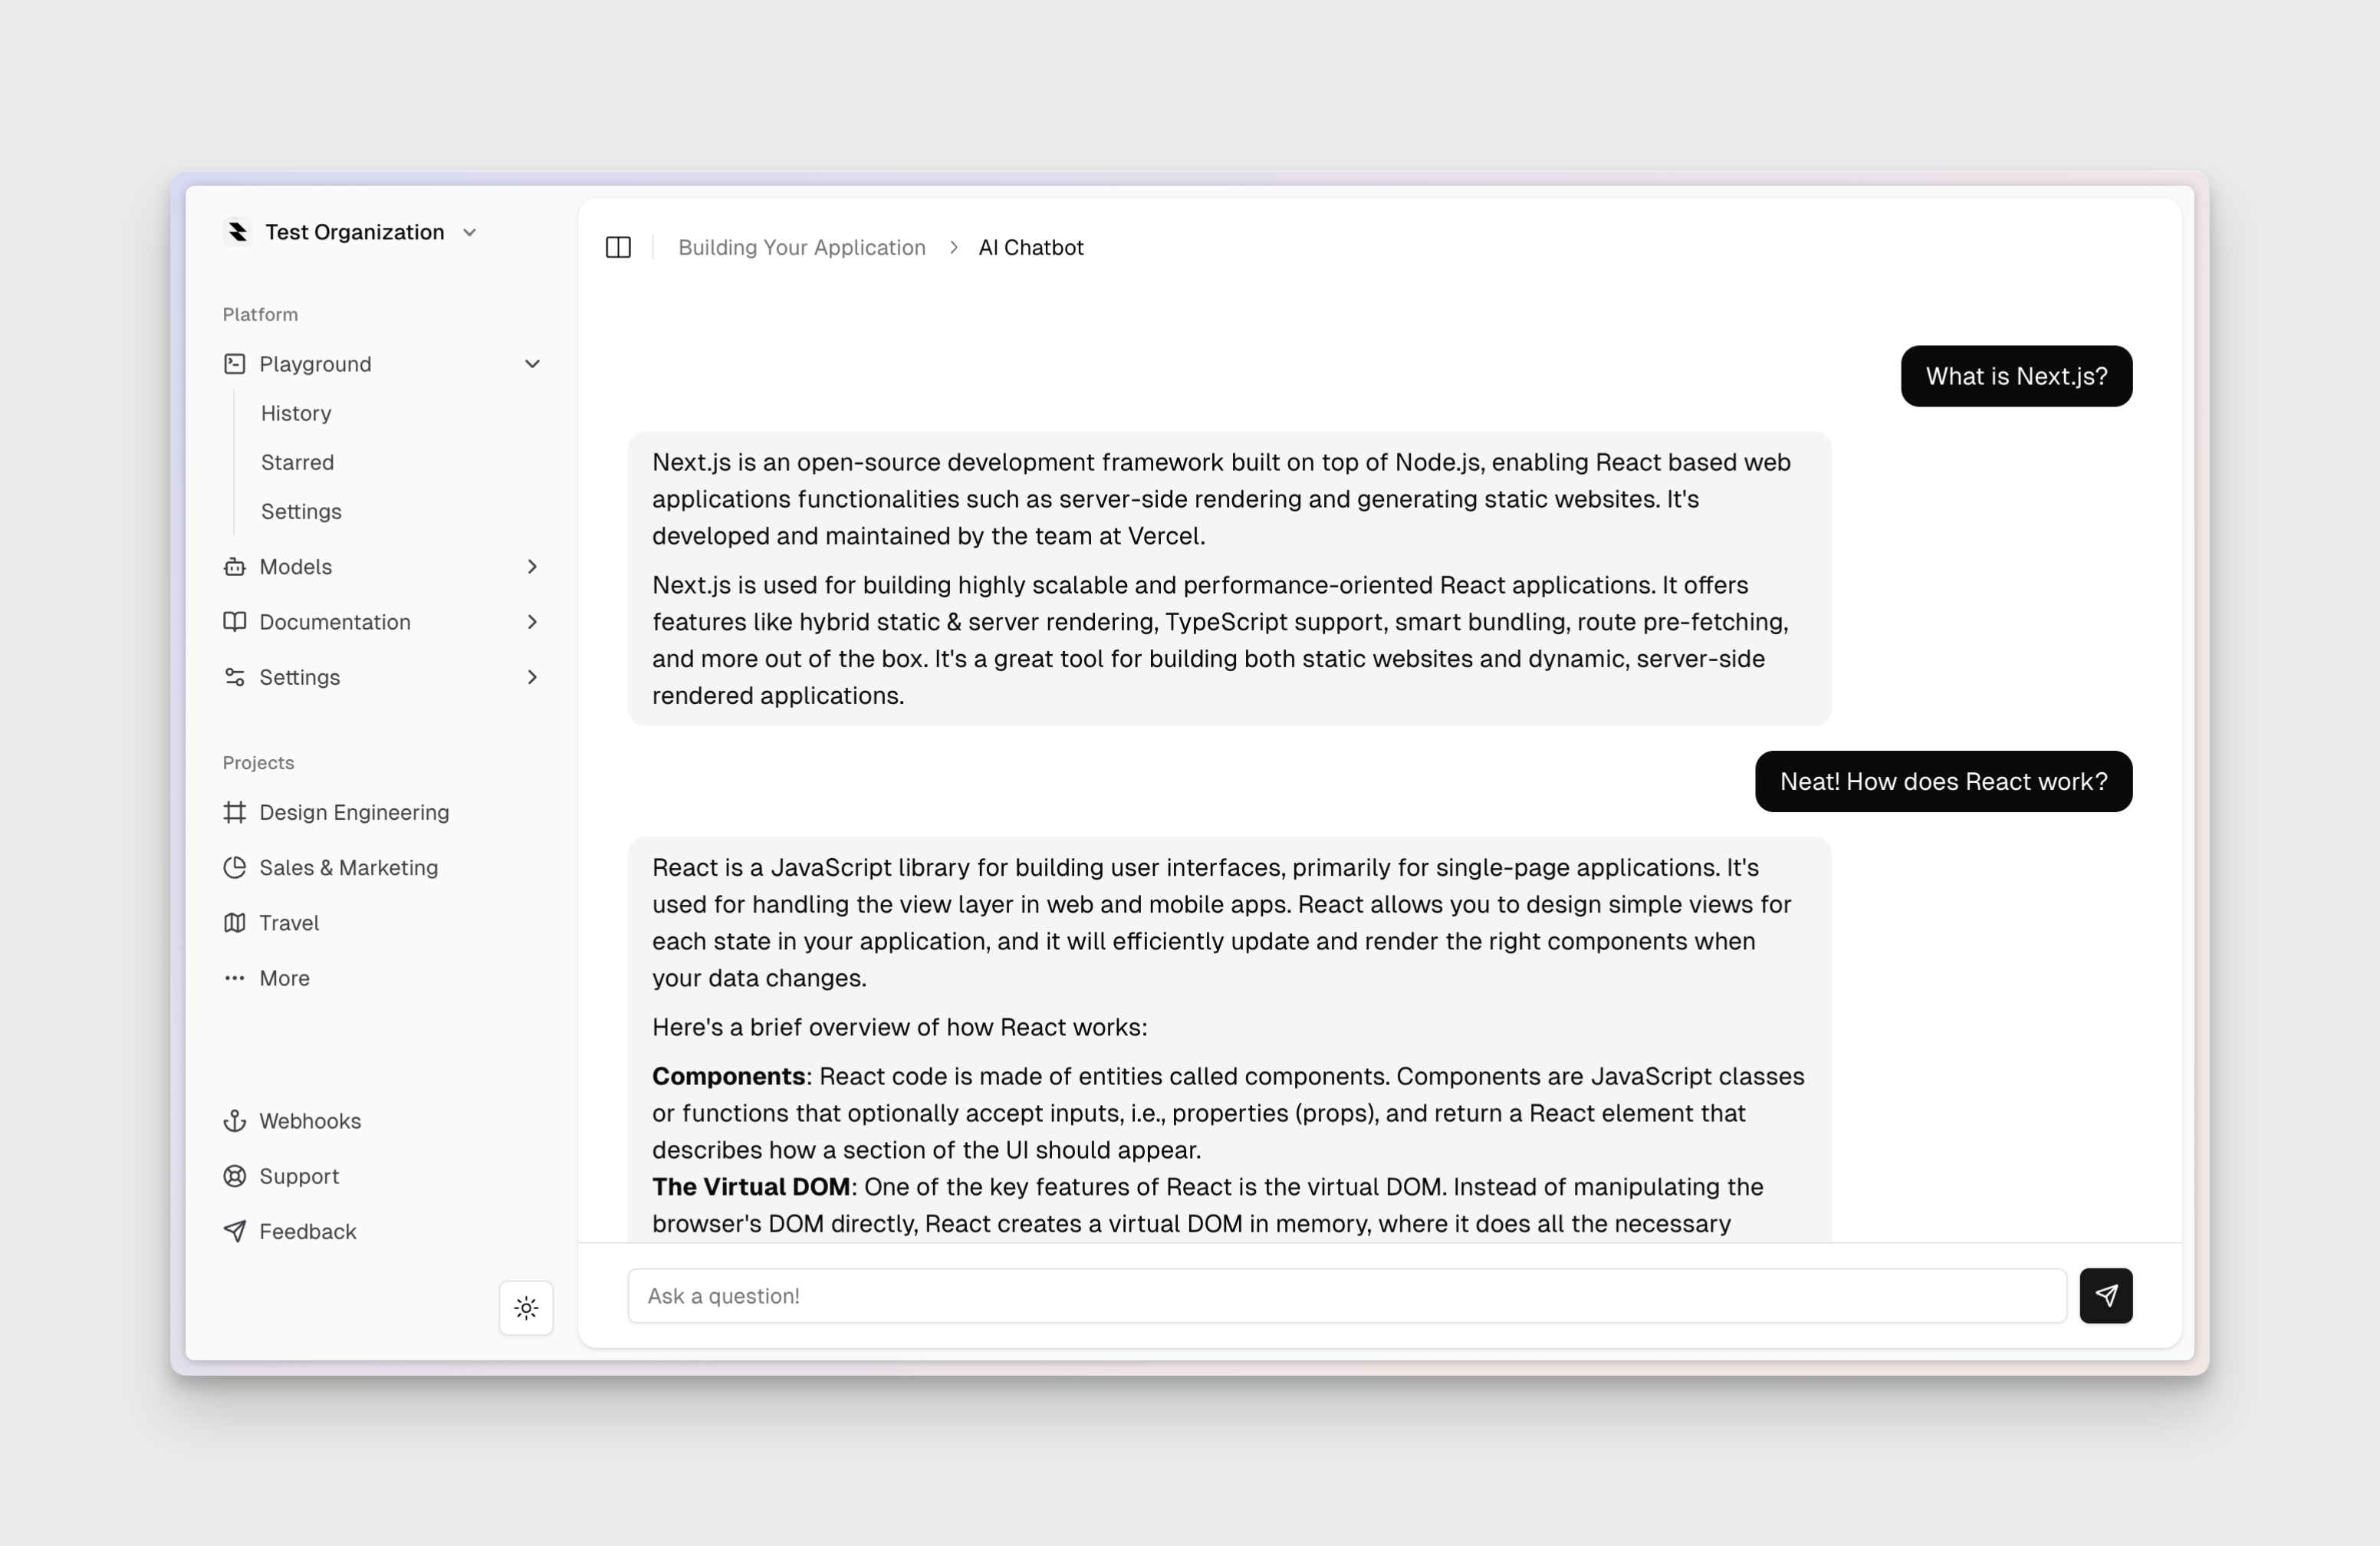
We’re going to start by creating a simple chatbot UI with a text input and a button to send messages. Create a new file calledChatbot in the app/components directory. We’re going to use a few things here:
useChatfrom our AI package to handle the chat logic.ButtonandInputcomponents from our Design System to render the form.ThreadandMessagecomponents from our AI package to render the chat history.handleErrorfrom our Design System to handle errors.SendIconfromlucide-reactto create a send icon.
apps/app/app/(authenticated)/components/chatbot.tsx
4. Create the chatbot API route
Create a new file calledchat in the app/api directory. This Next.js route handler will handle the chatbot’s responses.
We’re going to use the streamText function from our AI package to stream the chatbot’s responses to the client. We’ll also use the provider function from our AI package to get the OpenAI provider, and the log function from our Observability package to log the chatbot’s responses.
apps/app/app/api/chat/route.ts
5. Update the app
Finally, we’ll update theapp/page.tsx file to be a simple entry point that renders the chatbot UI.
apps/app/app/(authenticated)/page.tsx
6. Run the app
Run the app development server and you should be able to see the chatbot UI at http://localhost:3000.Terminal